Front-Yard Cleanup & Bush Removal: A Practical Guide
Learn how we take a front yard from overgrown bushes and bare driveway edges to a clean, modern, low-maintenance look with smart removal, rock, and replanting.
From “Bush Disaster” to Clean, Modern Front Yard
We recently got a call from a customer — let’s call him Mark — who needed help with a front yard that had gotten away from everyone. It wasn’t his own house; it was his client’s family home, and he wanted it to look cared for and modern again.
On the call, Mark explained that one whole side of the house was buried in overgrown bushes and trees. The area around the mailbox “looked like a disaster,” and the edge of the driveway was just a worn strip of ground where cars and feet had beaten the grass down. He wasn’t sure whether to try growing grass again or have us put in a simple rock running path.
We hear versions of Mark’s situation all the time. So in this guide, we’ll walk you through the same thought process we used with him — from removing old bushes and cleaning up beds to deciding between grass and rock, and how to keep everything looking fresh.
Step 1: Walk the Property and Make a Game Plan
When we met Mark’s clients at the house, we started with a simple walk-through. Before you cut, pull, or haul anything to the curb, we always recommend doing the same.
As you walk around your front yard, ask yourself:
- What absolutely has to go? Dead or diseased bushes, shrubs blocking windows, plants growing into siding or rooflines.
- What can be saved with trimming? Overgrown but healthy bushes, trees with low branches, perennials hidden under weeds.
- What areas feel messy or confusing? Mailbox beds, corners of the house, edges along walks and driveways.
- How do people use this space? Is there a natural walking path along the driveway like Mark described? Do kids cut through a certain corner?
Once you’ve answered those questions, it’s much easier to decide what to remove, what to keep, and where new plants or rock paths should go.
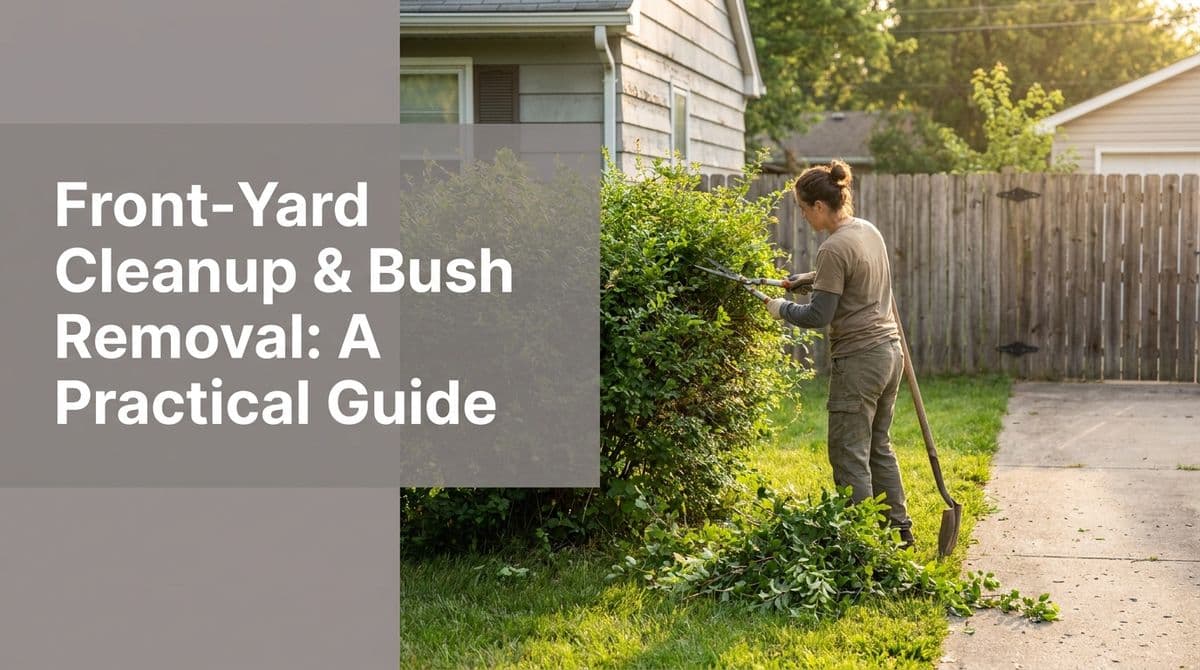
Step 2: Bush Removal – What You Can DIY and When to Call Us
On Mark’s project, one whole side of the house had “a bunch of bushes” that needed to be removed and trees that needed a serious trim. For many homeowners, this is the part that feels the most overwhelming.
Tools for DIY Bush Removal
If the bushes are small to medium and not right up against utilities, you can often tackle them yourself with the right tools:
- Loppers or pruning saw – for cutting branches back so you can see the main stems.
- Shovel or digging bar – to dig around the root ball and loosen the soil.
- Mattock or grub hoe – helpful for cutting stubborn roots.
- Work gloves and safety glasses – you’ll thank yourself later.
- Tarps – to drag branches and debris to your trailer or curb.
Cut the bush back to just the main stems, then dig around the root ball and rock it loose. It’s normal for this part to take some muscle.
When It’s Safer to Call a Pro
We recommended handling the trees and some of the bigger shrubs at Mark’s client’s home professionally. You should consider calling us (or another pro) when:
- Trees or bushes are close to the house, power lines, or windows.
- Stumps are very large and would require heavy equipment or a stump grinder.
- You’re not sure what’s under the soil (irrigation, gas, or electric lines).
- The job simply feels too big to finish in a weekend or two.
A good rule of thumb: if you can’t safely control where a big branch or trunk will fall, it’s time to bring in help.
Step 3: Trimming Trees and Clean-Up Around the House
After removing what needs to go, the next step is cleaning up what’s staying. With Mark’s project, we planned to “trim up all these trees” and do a full “trim work all around the house.”
Basic Trimming Guidelines
- Keep plants below windows so you can see out and get more natural light indoors.
- Lift tree canopies by cutting lower branches so you can walk or mow under them.
- Maintain clearance from siding – plants shouldn’t be rubbing on your house; it traps moisture and invites pests.
- Don’t “top” trees (cutting straight across the top); it leads to weak, ugly regrowth.
Once trimming is done, rake everything thoroughly, clear out old leaves and debris from around foundations, and redefine your bed edges so the whole front yard looks intentional again.
Step 4: Fixing the Mailbox & Front Entry “Disaster Zone”
The front mailbox area was a sore spot for Mark’s clients. That’s common; these little beds get ignored until they’re a jungle. Thankfully, they’re also one of the easiest areas to transform.
Here’s the simple approach we like to use:
- Strip everything back – remove weeds, old mulch, and any dead or struggling plants.
- Level the soil and add a bit of fresh topsoil if it’s compacted.
- Choose 1–3 low-maintenance plants (like a compact shrub and a couple of perennials) instead of a dozen different varieties.
- Add a clean edge with pavers, steel edging, or a simple shovel-cut edge.
- Top with mulch to keep weeds down and make it look finished.
A tidy mailbox bed makes a surprisingly big difference to your curb appeal, especially when the rest of the yard is being cleaned up too.
Step 5: Grass vs. Rock Along the Driveway
Mark’s biggest question was what to do along the side of the driveway where the grass had worn away. Should we “lay dirt and grow grass seed” or create “a running path of rock” that could handle foot traffic?
When to Choose Grass
Grass can be a good option if:
- The area gets at least 4–6 hours of sun.
- You’re willing to water regularly while the seed or sod gets established.
- People aren’t constantly driving or parking on that strip.
To re-establish grass there:
- Loosen the top 2–3 inches of soil.
- Add a layer of fresh topsoil if the existing soil is compacted.
- Spread a quality seed blend or lay sod.
- Keep it evenly moist until it’s well rooted.
When a Rock Path Makes More Sense
In Mark’s case, a rock “running path” along the driveway made a lot of sense because that strip was used all the time. Rock is a better choice when:
- There’s heavy foot traffic or occasional vehicle overrun.
- The soil is poor and compacted and you don’t want to invest in rebuilding it.
- You want a low-maintenance, modern look.
To do a rock strip the right way:
- Dig down a few inches to remove grass and roots.
- Compact the base and add landscape fabric to control weeds.
- Add 2–3 inches of crushed rock or decorative stone.
- Rake it level and top off as needed over time.
A common mistake we see is tossing rock directly on top of existing grass or soil. It looks fine for a month, then weeds start popping through and the rock sinks into the ground. Taking the time to prepare the base makes all the difference.
Step 6: Replanting with Simple, Modern Landscaping
Once the old bushes are gone and beds are cleaned up, you have a blank slate. At Mark’s client’s home, we talked about planting “some form of a bush” along that side of the house to keep things simple and clean.
Our general advice for homeowners is:
- Repeat plants instead of mixing dozens of kinds. Three to five of the same shrub looks more modern than one of everything.
- Match plant size to the space. Look at the mature height and width so you’re not re-cutting overgrown shrubs in three years.
- Think four seasons. Mix evergreens with a few flowering shrubs or perennials so it never looks completely bare.
Finish with a fresh layer of mulch (2–3 inches deep, not piled against trunks) to tie everything together and keep weeds under control.
Seasonal Timing and Maintenance Tips
A lot of people ask when they should tackle a big cleanup like this. In our climate, we usually recommend:
- Early spring – ideal for major pruning, removals, and new planting before heat hits.
- Late fall – great for cleanups, cutting back perennials, and planning bigger changes for spring.
- Summer – fine for light trimming and rock/edging work; be extra careful with new plantings and watering.
Simple After-Cleanup Checklist
Once your front yard is transformed, a little routine attention will keep it looking good:
- Walk the property once a month and snip stray branches or suckers.
- Pull small weeds in mulch or rock before they get established.
- Top off mulch or rock every 1–2 years where it’s thinned out.
- Check that plants aren’t touching the house and trim back as needed.
With that little bit of upkeep, you won’t slide back to “disaster” status.
Thinking About a Front-Yard Cleanup of Your Own?
If your situation sounds anything like Mark’s — overgrown bushes, trees that need trimming, a messy mailbox bed, or a bare strip along the driveway — we’re happy to walk through it with you on-site and put together a clear plan and quote.
Whether you want us to handle the heavy lifting or you just need help with the bigger pieces while you DIY the rest, we can help you turn an overgrown front yard into a clean, modern, low-maintenance space you’ll be proud to pull up to every day.